
RaiderCanvas Support
Lucid Icebreaker
A key function of Lucid is to allow for collaborative activities on a custom activity board. One way of using this is for course ice-breakers. These work similar to a discussion, but rather than replying in a message board, the users are able to use graphics such as stickies to create an interactive space with their replies, as in this example:

This can be done either asynchronously, or synchronously during a virtual session to improve engagement.
Create a Page for the Ice Breaker
To create a Lucid icebreaker you will first need to create a page to place the Lucid activity. One way to do this is to navigate to your Modules area and select the plus sign icon on the top right of your module (1), change the dropdown to ‘Page’ (2), give the page a name (3), and then select Add Item (4):

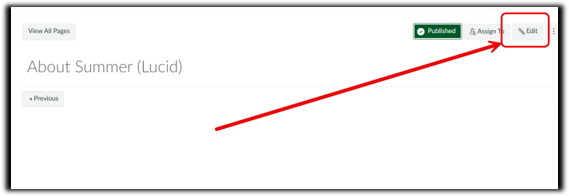
Once the page is created, open it and select the Edit button in the top right:
Add Lucid Board
From the rich text editor, Lucid can be located via the plug icon (1) and choosing Insert Whiteboard or Diagram (2):
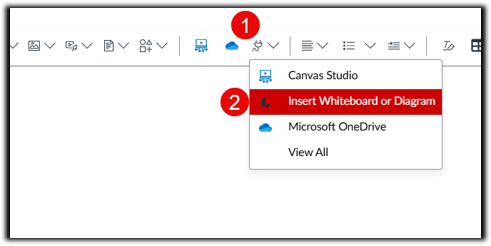
If this is your first time using Lucid, you may need to search for the link using the View All option.
A menu will appear allowing you to choose what kind of board you would like to make, and also providing various templates to choose from. To create a new blank board, click the blue + New button (1), select Lucidspark (2), and then Blank board (3):

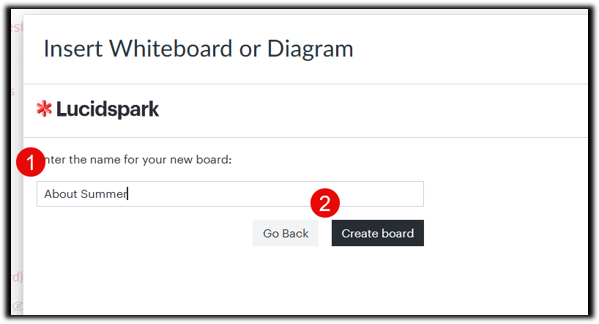
On the next menu, provide a name for the icebreaker board (1), and then select Create Board (2):
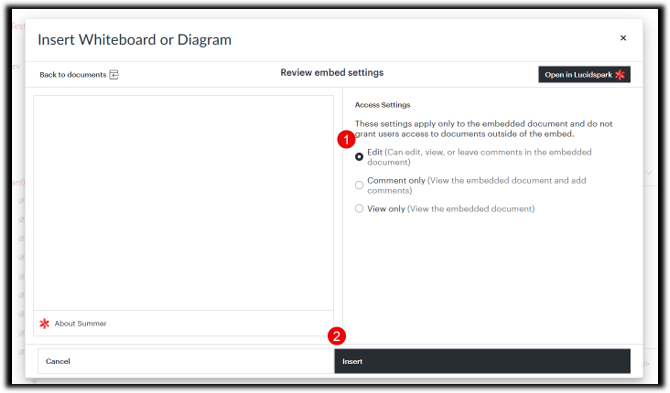
The next menu will let you choose what privileges students will have. For this activity, choose Edit (1) and then select Insert (2):
Create the Lucid activity
You will now see a blank Lucid board on your page. You can save the page at this point, or continue to editing the board. The board can be edited directly from this embed, however, some menu options will be lacking. For the full editing experience, click the Open in a new tab icon. This icon looks like a square with an arrow pointing to the top right:
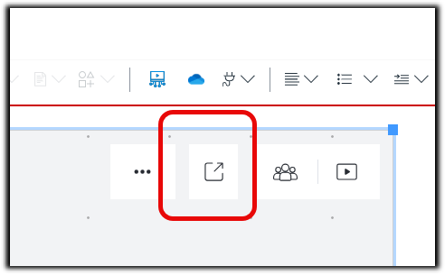
This will open the full Lucid editor. All changes made here will be reflected on the embedded item.
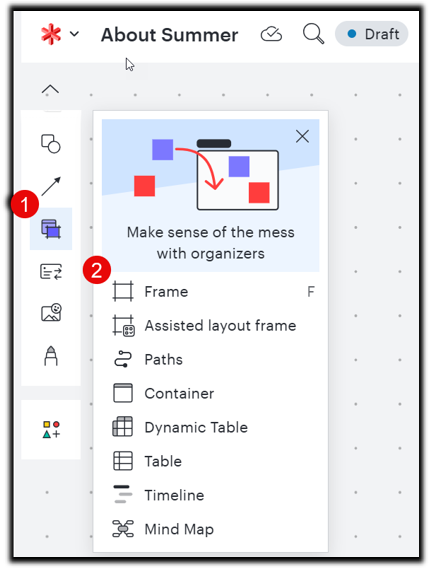
From the blank board, select the Organizers option (1) on the left-hand menu and then choose the Frame option (2):
Once the frame option is selected, click and drag to draw the box where students will interact:
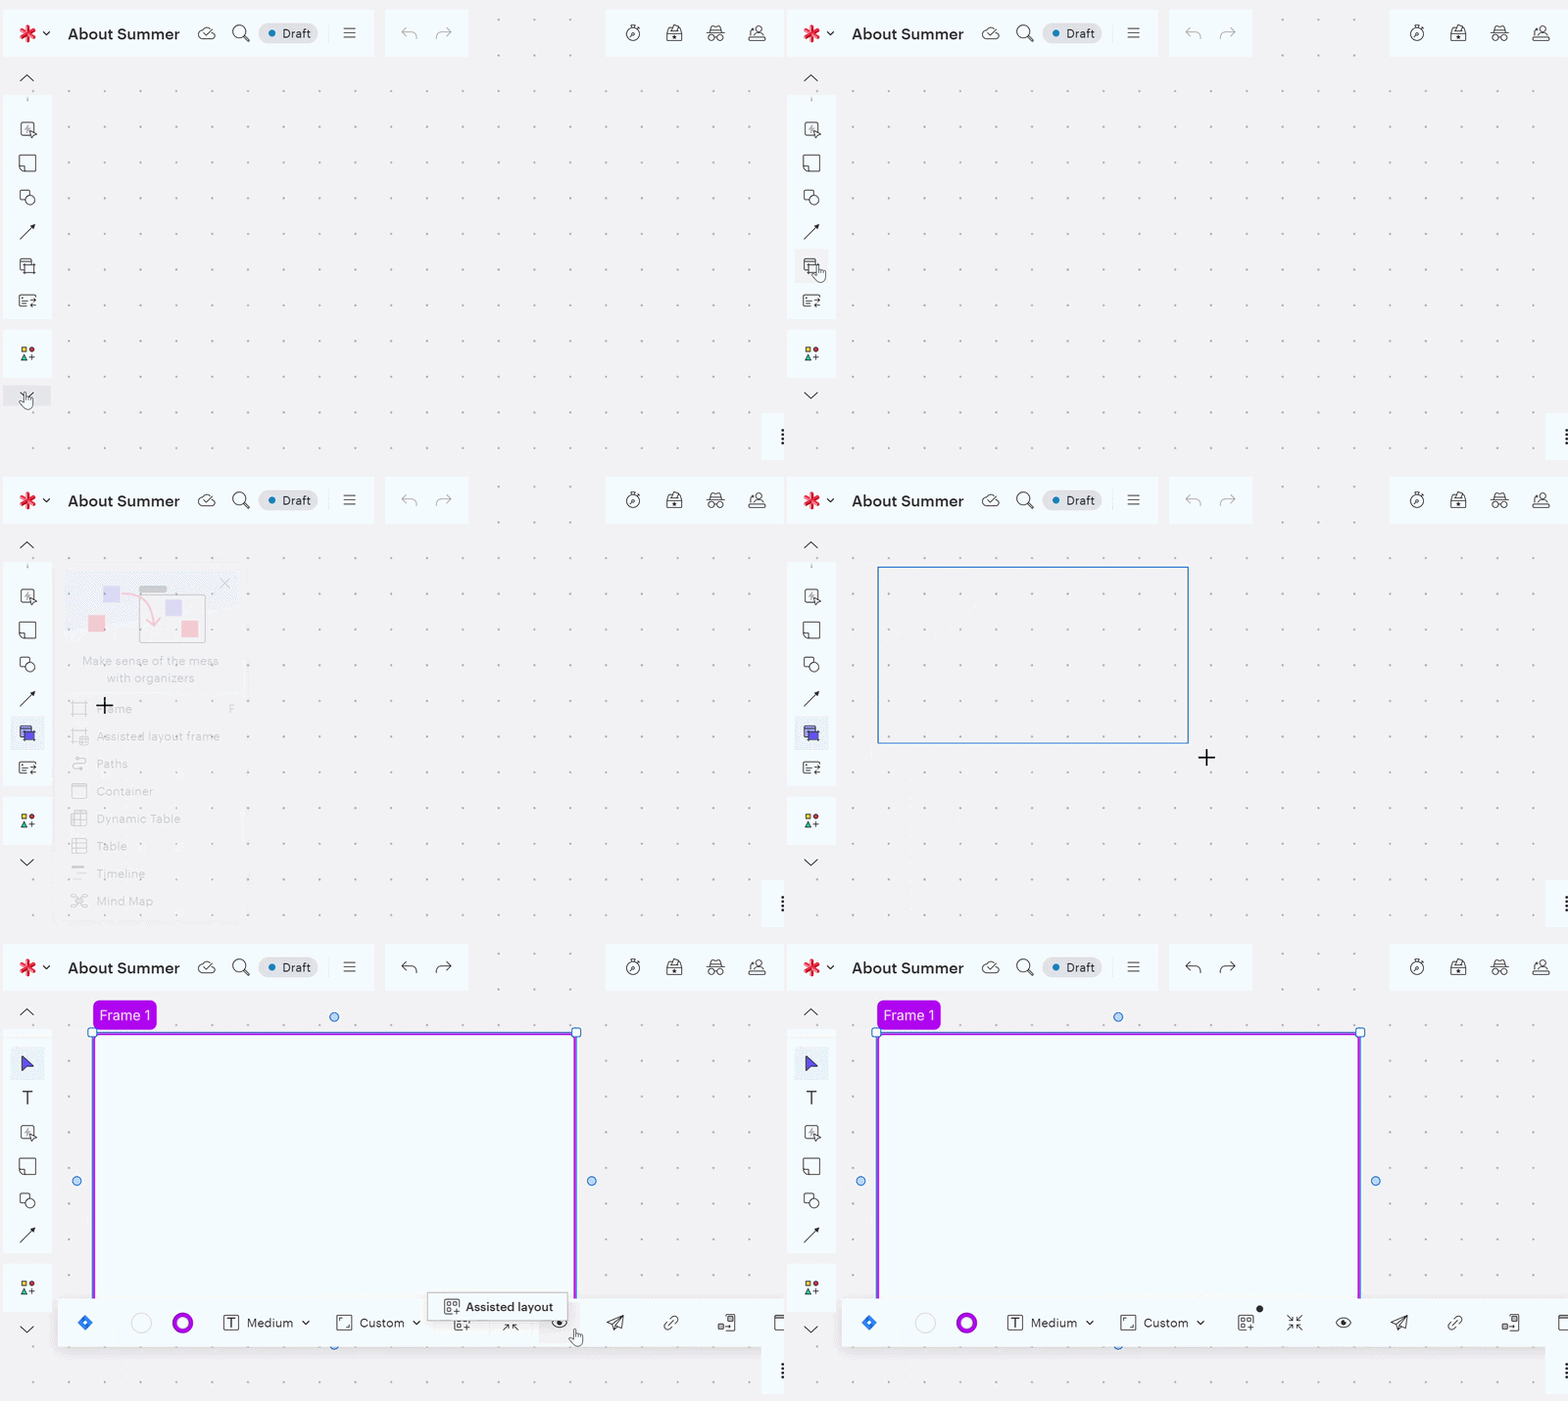
Once your frame is created, select the text in the top left to change the frame title:

Next, choose the Text box icon from the tool menu and drag it into the frame:

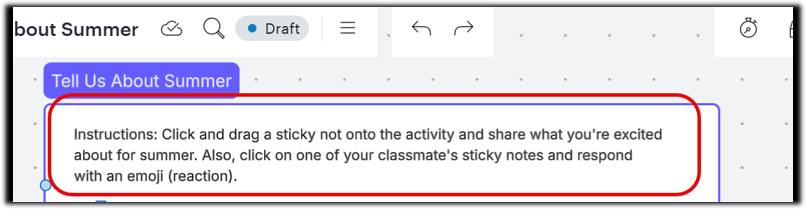
In the text box, write the instructions for the activity:
Next, we’ll add the sticky note bank which students will use to add their responses. Choose the More Tool option (1) on the tool menu, type ‘sticky’ into the search box (2), and choose Sticky note bank (3):

A sticky note bank will be added to the frame, which you can drag to the side:

You can also give this sticky note bank its own title:

Lock the board
To stop students from changing the instructions or other board features, click and drag a square around everything to select it, and then click the Lock icon:

Edit the share settings
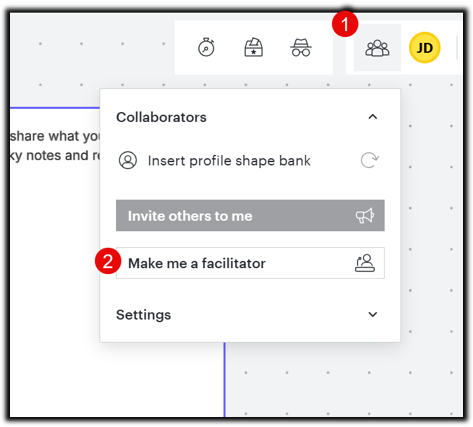
Select the Collaborators icon in the top right of the board (1), and then choose Make me a facilitator (2):
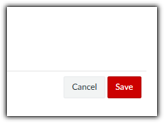
Your board is now created. If you have not already done so, you can go back to the Canvas page and click Save to create the page:
The activity will now be embedded into the page you created:
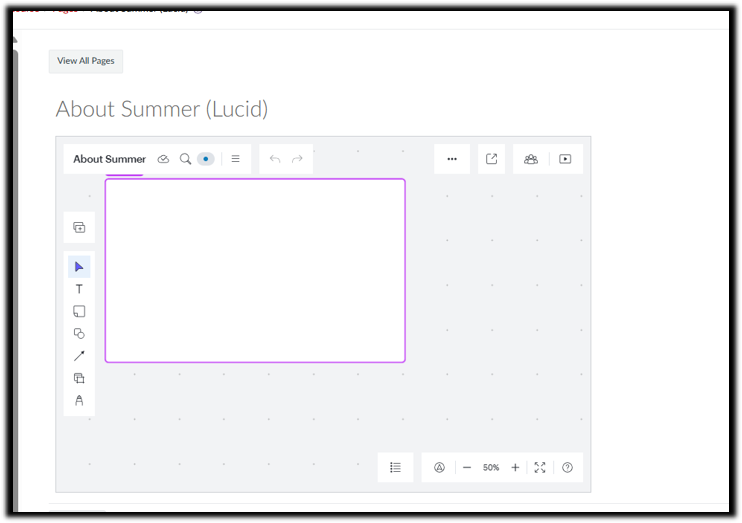
Students can access this and edit directly via the page, or choose the option to open in a new tab to edit in the full version. To respond, they can simply drag a sticky note from the bank pile and write their own response. Their name will appear on the bottom right of their sticky.
If using the board synchronously with a lecture, you can share the page link (or the board link directly) at the appropriate point in the lecture.
RaiderCanvas Support
-
Phone
806-742-5944 -
Email
online@ttu.edu