
Recording Videos and Presentations with Zoom: A Step-by-Step Guide
How to Sign-Up and Use Zoom
As the importance of video communication platforms continues to rise in many areas,
especially education, you have probably become familiar with Zoom. From meetings to
live streaming of lectures and the areas in-between, Zoom has been used extensively
not only for its ease of use but practicality as compared to other video communication
software.
Additionally, Zoom also offers a broad range of features, with video recording of
meetings, webinar, lectures, and more being especially helpful. And, because Zoom
utilizes your built-in speaker and webcam, this reduces the need or cost for extra
equipment.
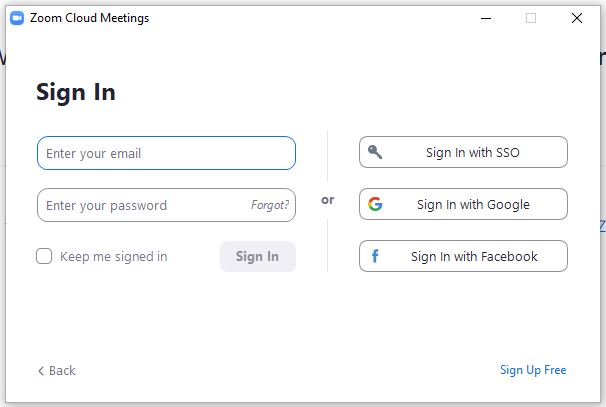
If you have yet to use Zoom, signing up simple. New users can sign up by using an
email and creating a custom and secure password. We suggest you use your TTU email
if you will be using Zoom for education and/or work needs. Zoom is free to use, but
also offers paid plans. If you have questions about the paid plans, we suggest you contact Human Sciences Technology Services to request joining the college's pro license.
After you have successfully signed in, you can download the Zoom extension to your
browser (i.e. Google Chrome or Firefox), Apple and Android devices, or add the Zoom
extension to your computer. All downloads and additional information can be found
through Zoom's Download Center.
Zoom Video Recording Instructions
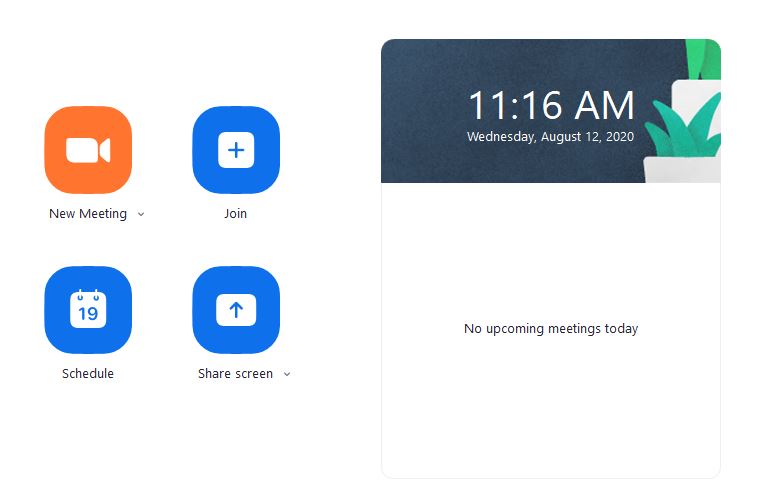
Once you have downloaded your select Zoom application, open the application on your
device. Once the application is open, choose "new meeting" from the home screen. This
will open a new window and start your webcam video.
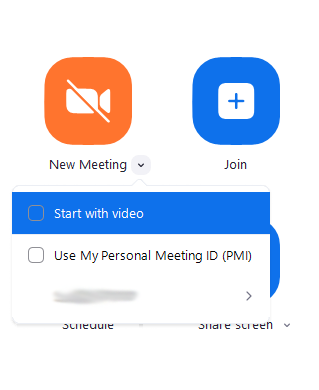
If you want to record your screen without the use of your webcam, select the dropdown
arrow next to "New Meeting" and uncheck the "start with video" box. Even if you begin
recording without your webcam, you have the option to switch to video later during
your presentation.
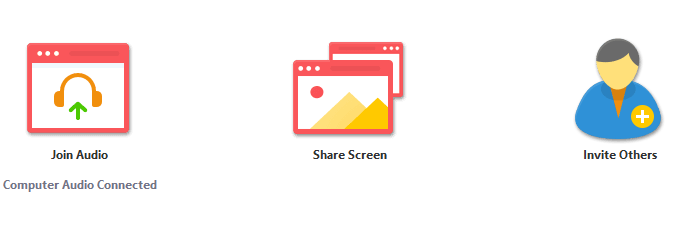
To record your computer screen, select the "Share Screen" icon located in the middle
of your Zoom window. Select your main screen to record then press the "Share Screen"
option.
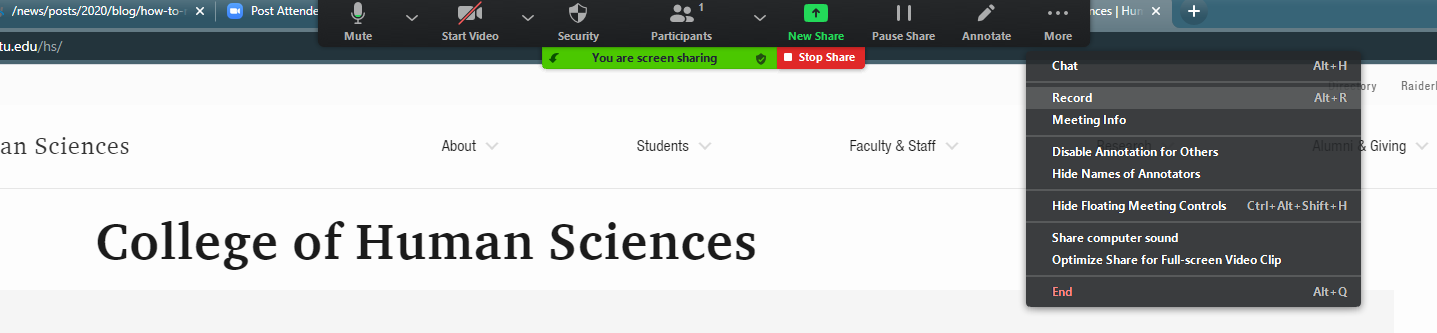
Once you are ready to record, click the Record button and select the "Record to Cloud"
option. You are now recording, and the file will be saved to your Zoom Cloud once
the meeting ends. However, if you are planning to share your recording to YouTube,
Vimeo, or any other video sharing platform, you will need to select "Record on this
Computer" instead. Once you finish recording, Zoom will create a .mp4 file after you
end the meeting.
The same recording options can also be used when hosting a meeting, lecture, or webinar
by following the instructions listed above.
To end your Zoom video recording, select the "More" menu option then select "End Meeting".
This will end your meeting and begin the upload process, so make sure you remain connected
to the internet.
Sharing Your Presentation
If you selected the "Record to Cloud Option", your recording will automatically be
uploaded into the Zoom cloud server once you select "End Meeting". An email directing
you to the recording should be sent to your university email 20-30 minutes after recording.
The link provided from Zoom will allow you to view, edit, or delete the video. The
email will also provide a link to the video that you can share with colleagues and
students.

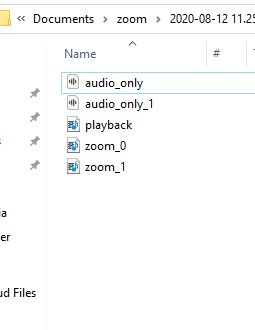
If you selected the "Record to this Computer" option, your presentation will be saved
directly to your computer once you select "End Meeting". All Zoom recordings will
be automatically saved to a folder labeled "Zoom" and can be located within your documents
folder. This file can be directly uploaded to YouTube, Vimeo, or any other video sharing
platform.
More Zoom Tips
If you need additional instructions or assistance, follow the links below:
• Zoom Cloud Recording Settings and Features
• Adding a Password to Your Cloud Recording
• Getting Started with Zoom tutorials
• Zoom Video and Audio Settings